

Three months ago, I did NOT know how to wallpaper. After my mother (who had lots of practice in the 80’s when she first wallpapered my nursery) and sister-in-law talked me into trying it ourselves, I now have ~100 hours of wallpapering experience and much more confidence than when I started. And after you read this, you too will have the tools and conviction to start your first venture!
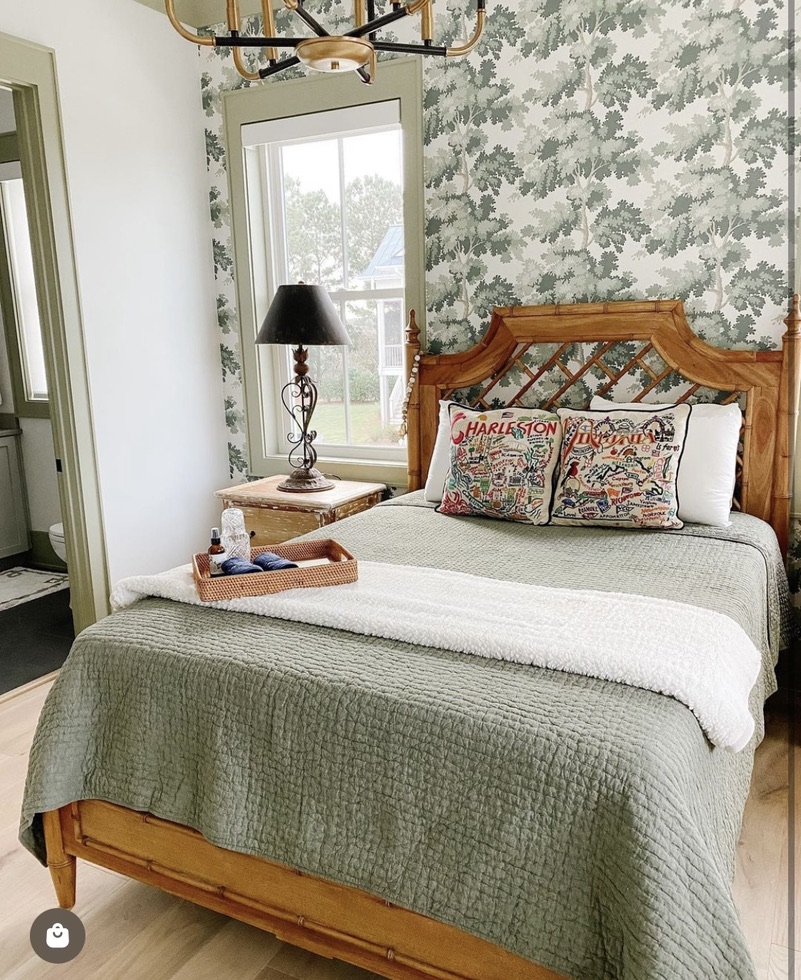
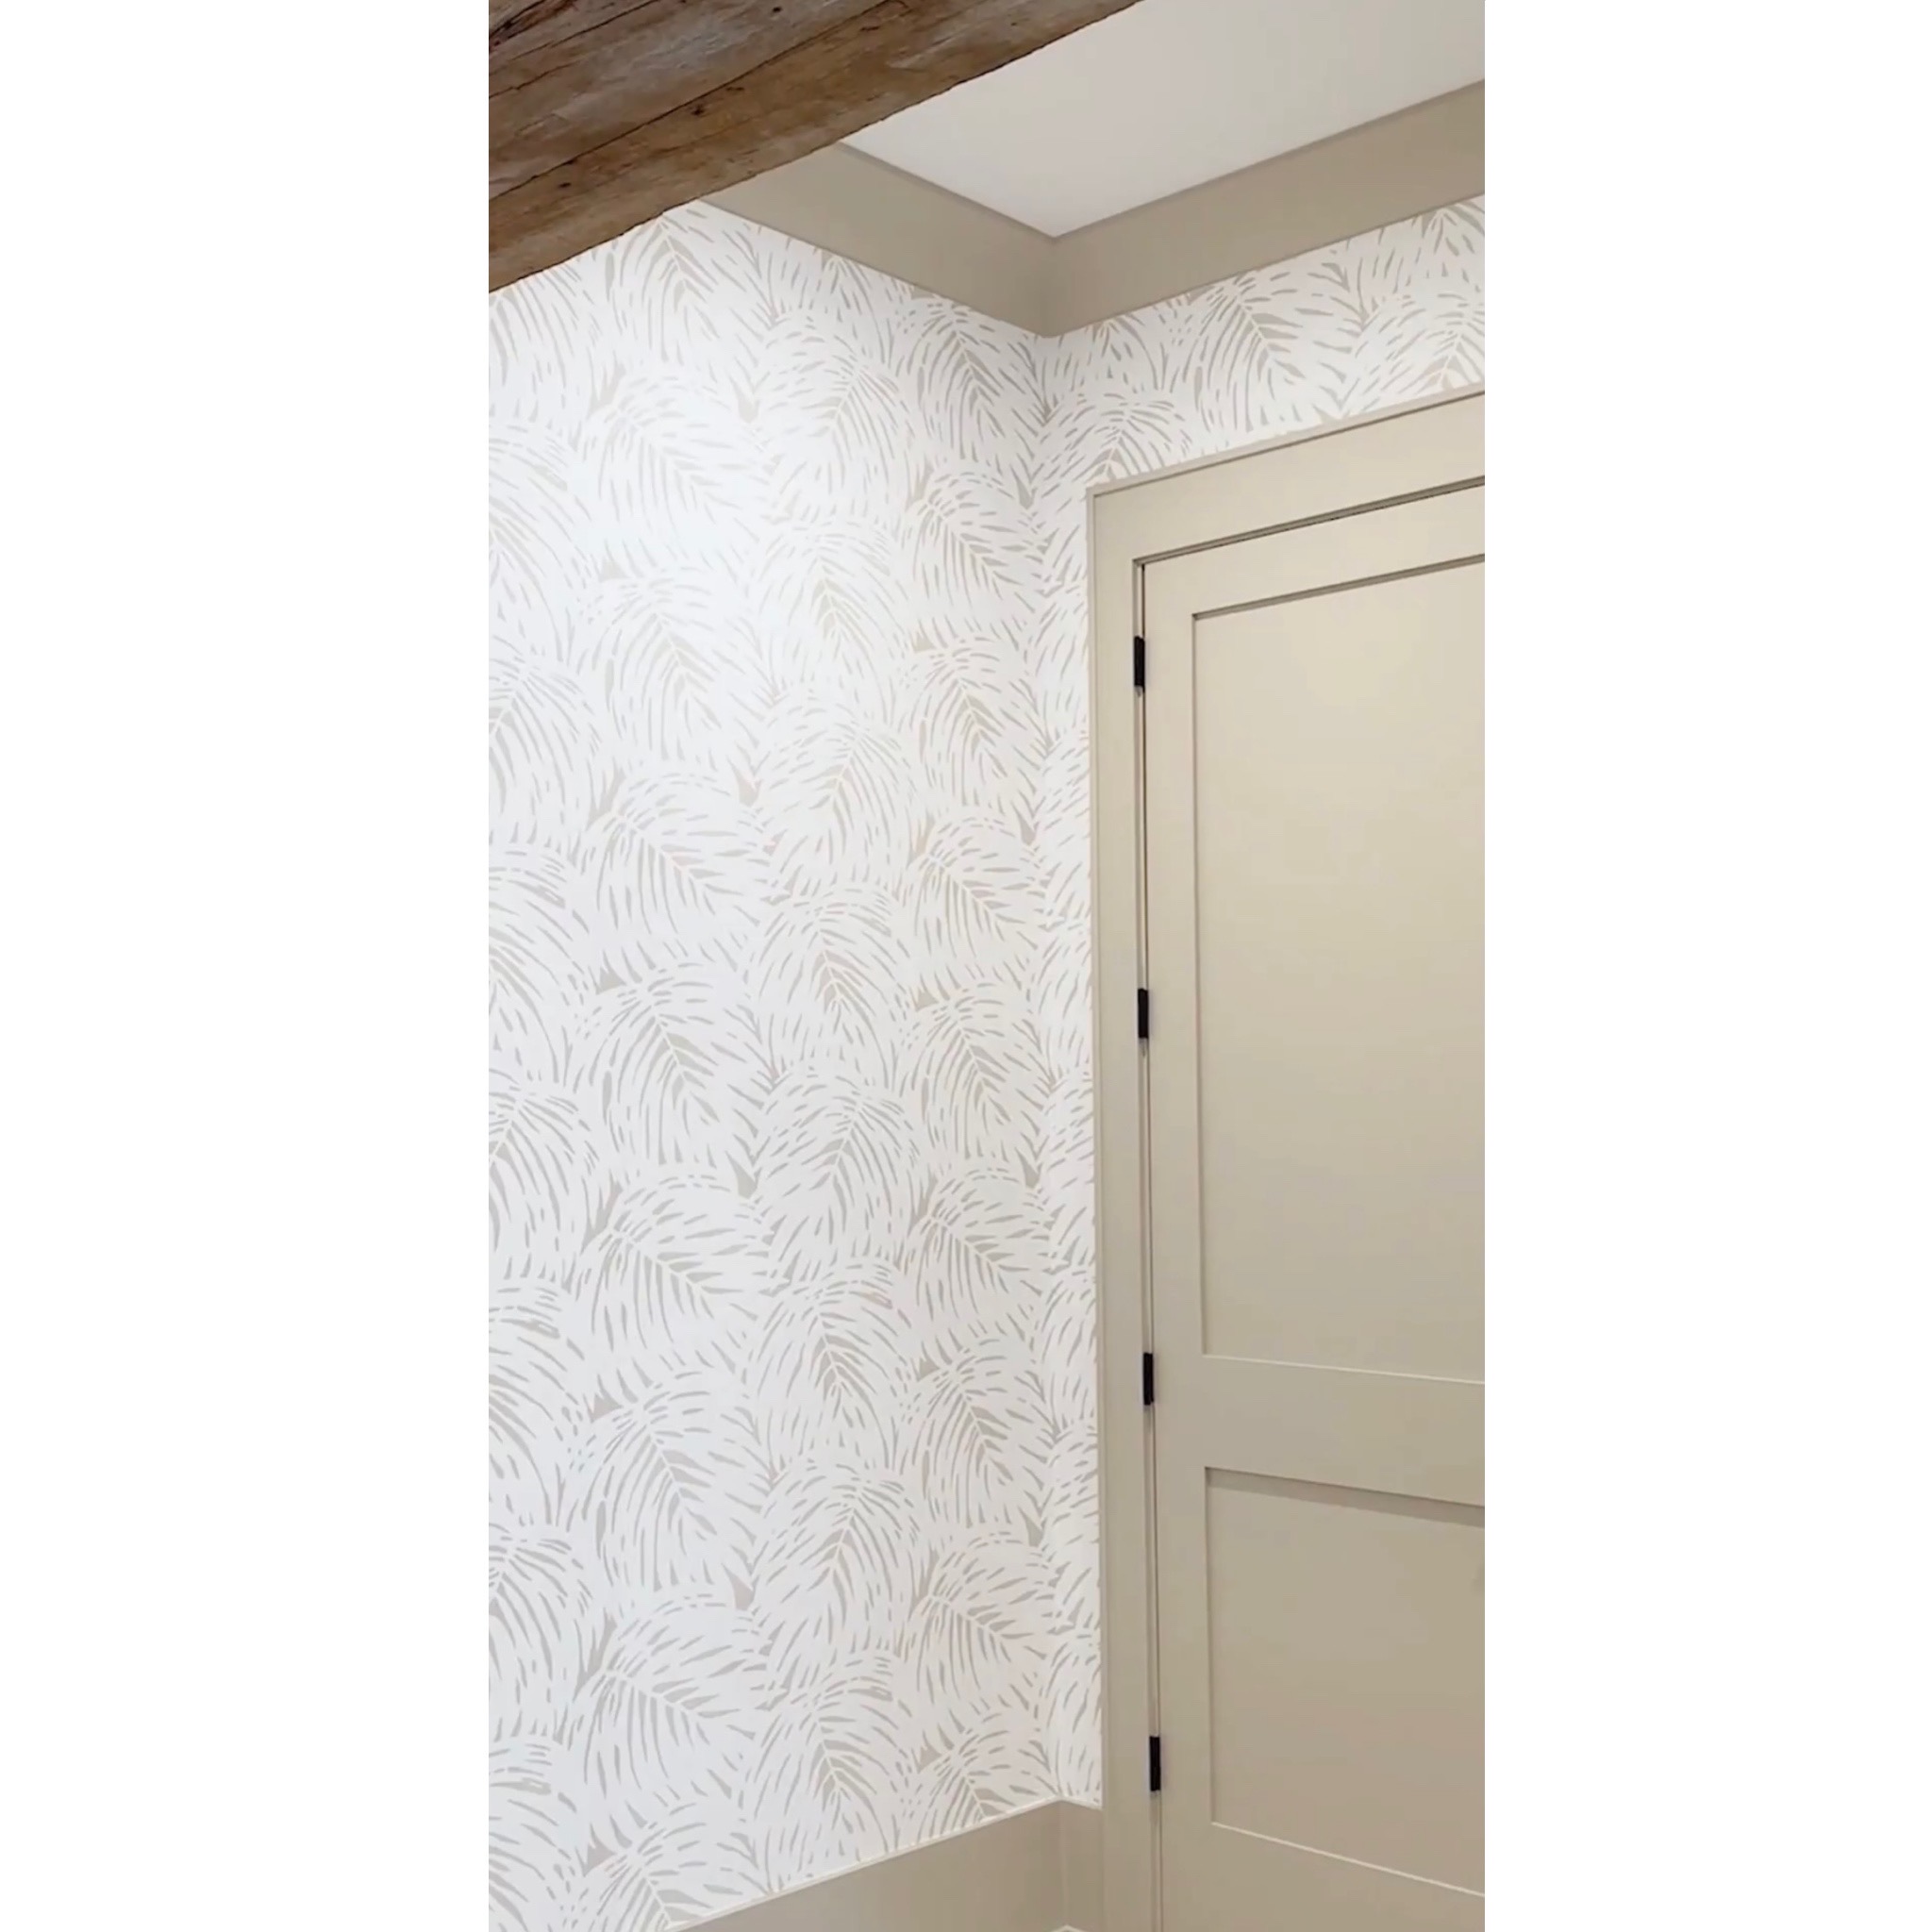
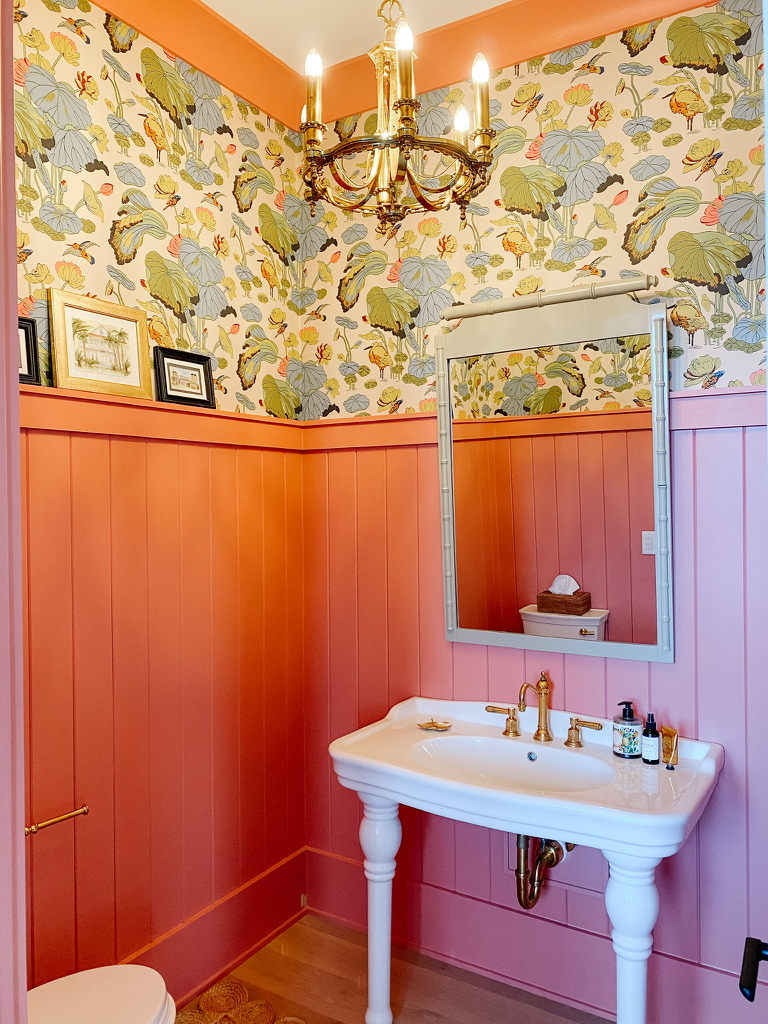
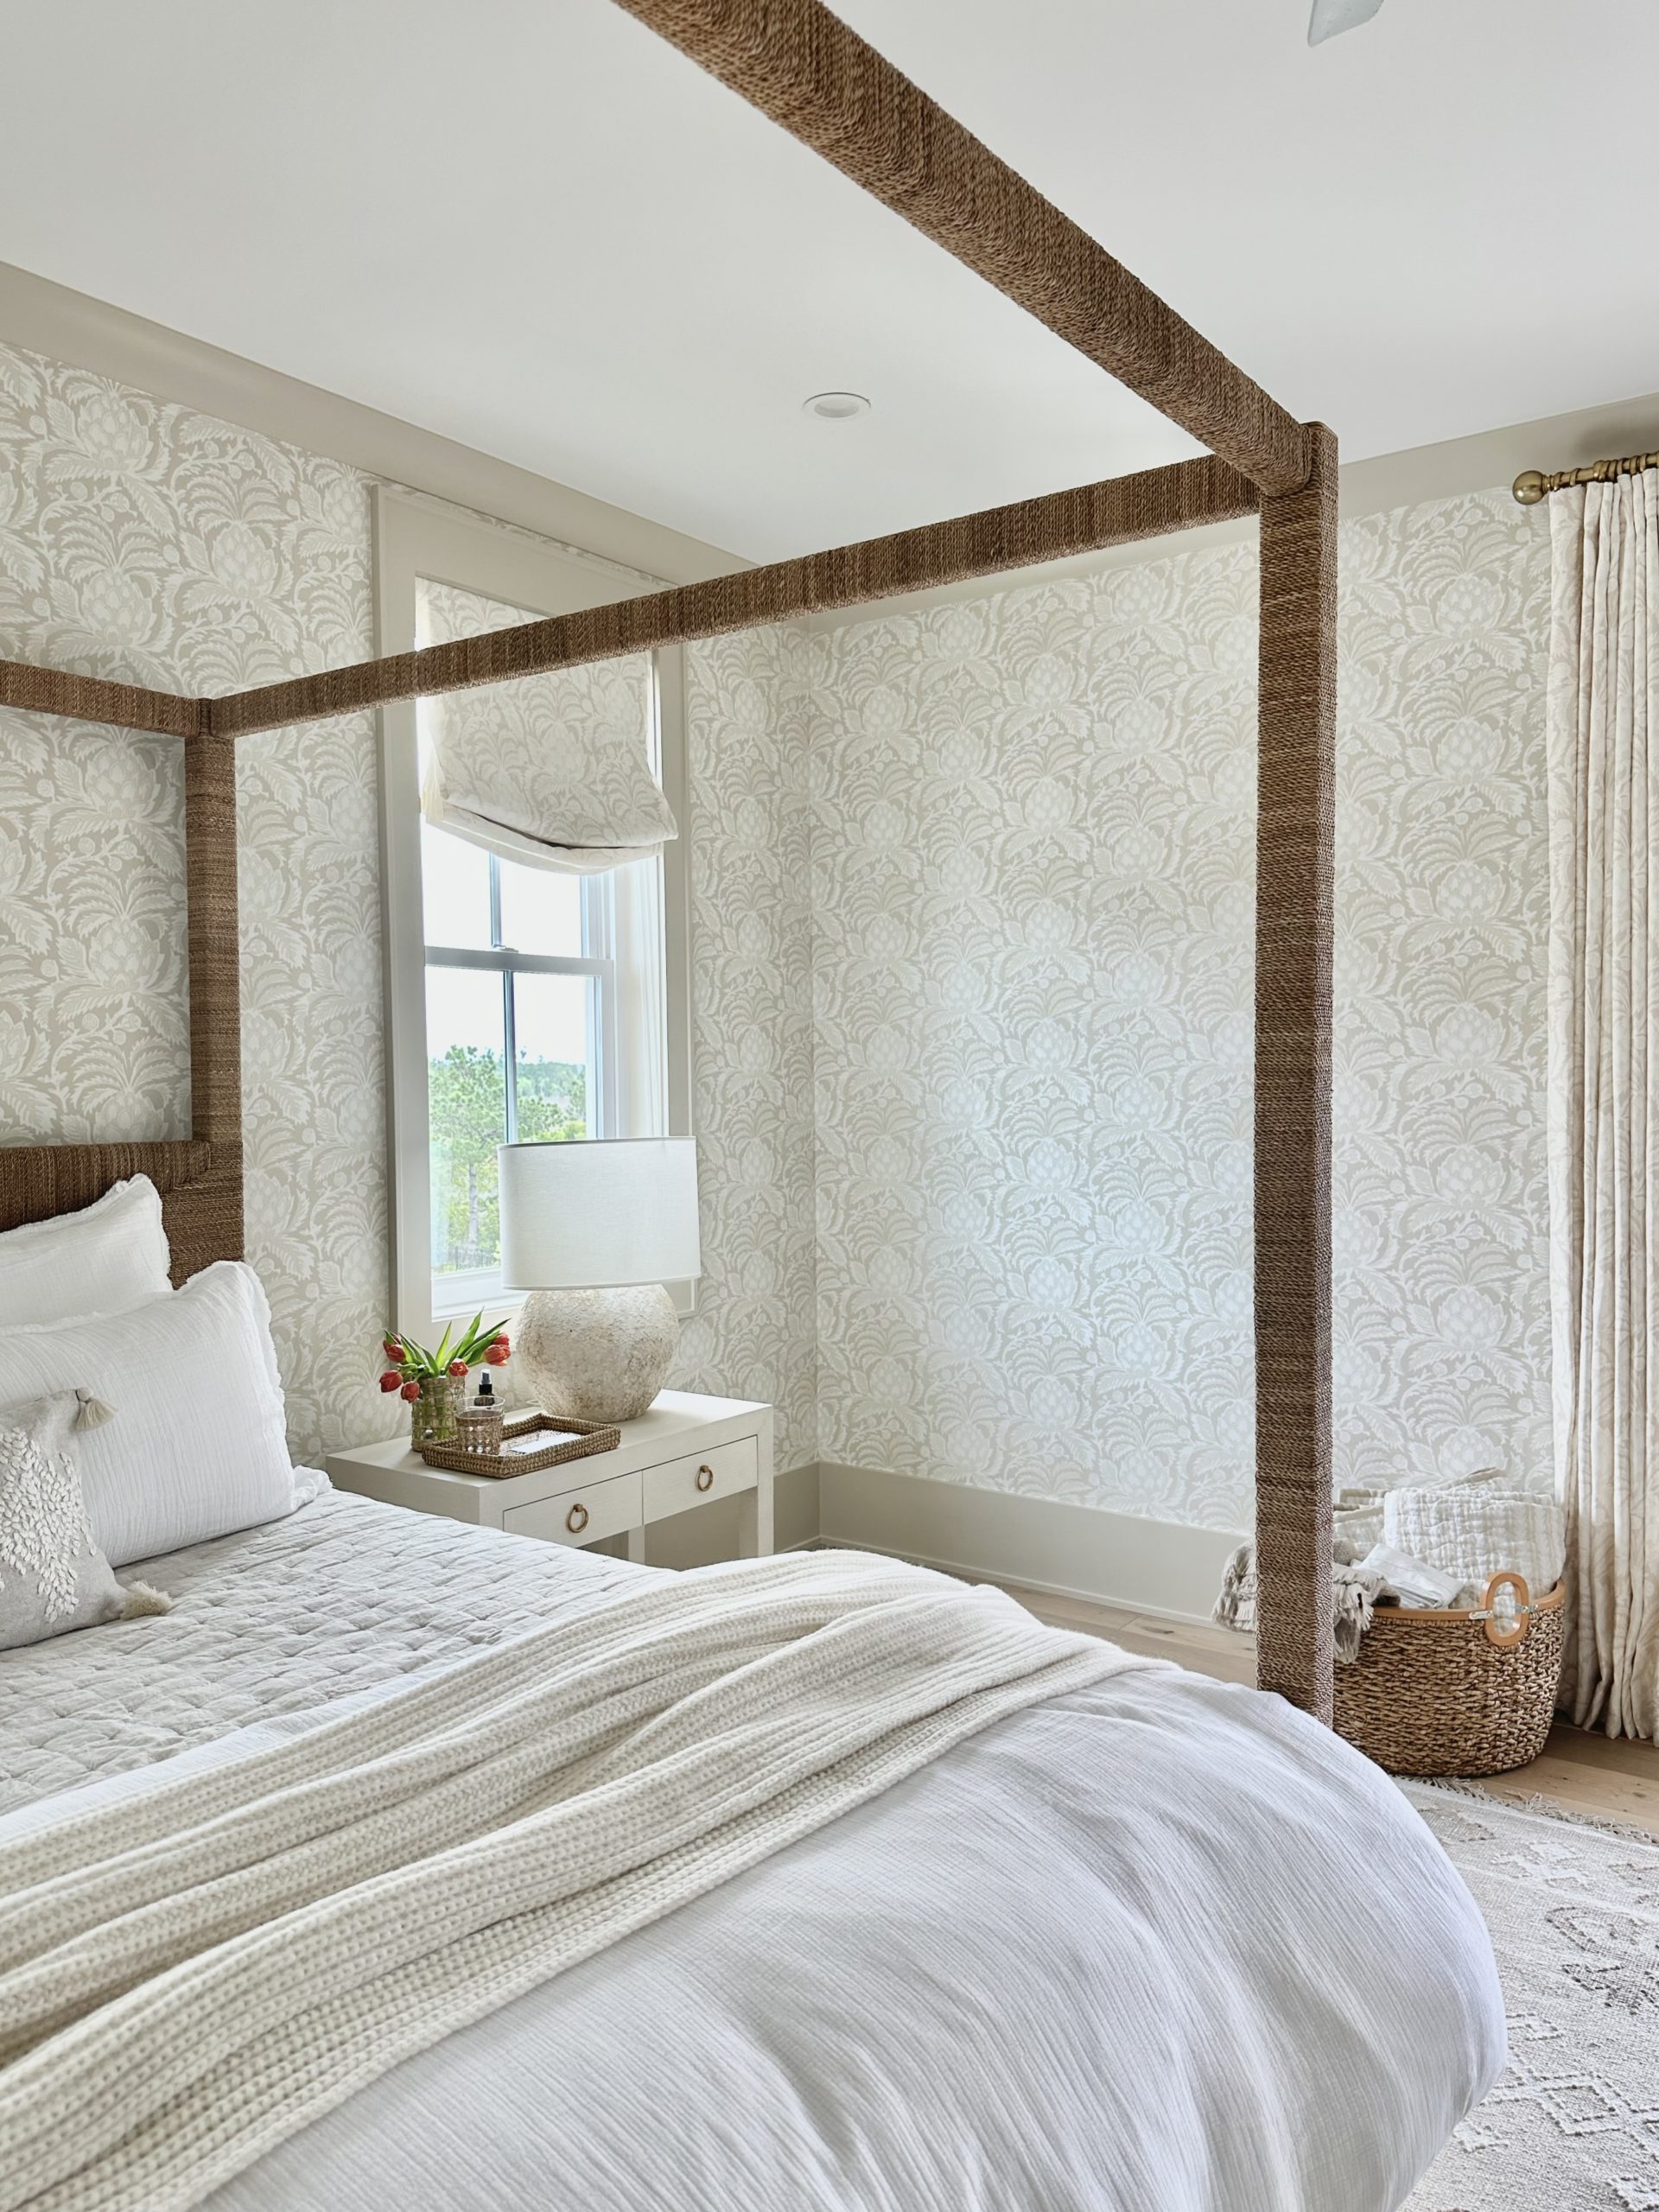
Wallpaper is back… it’s a fantastic way to add character and a design moment to any room. While previously run-of-the mill, my laundry room and mud rooms are now showstoppers. You can DIY with a little patience, the right tools, and some elbow grease. Here’s everything you need to know to wallpaper like a pro.
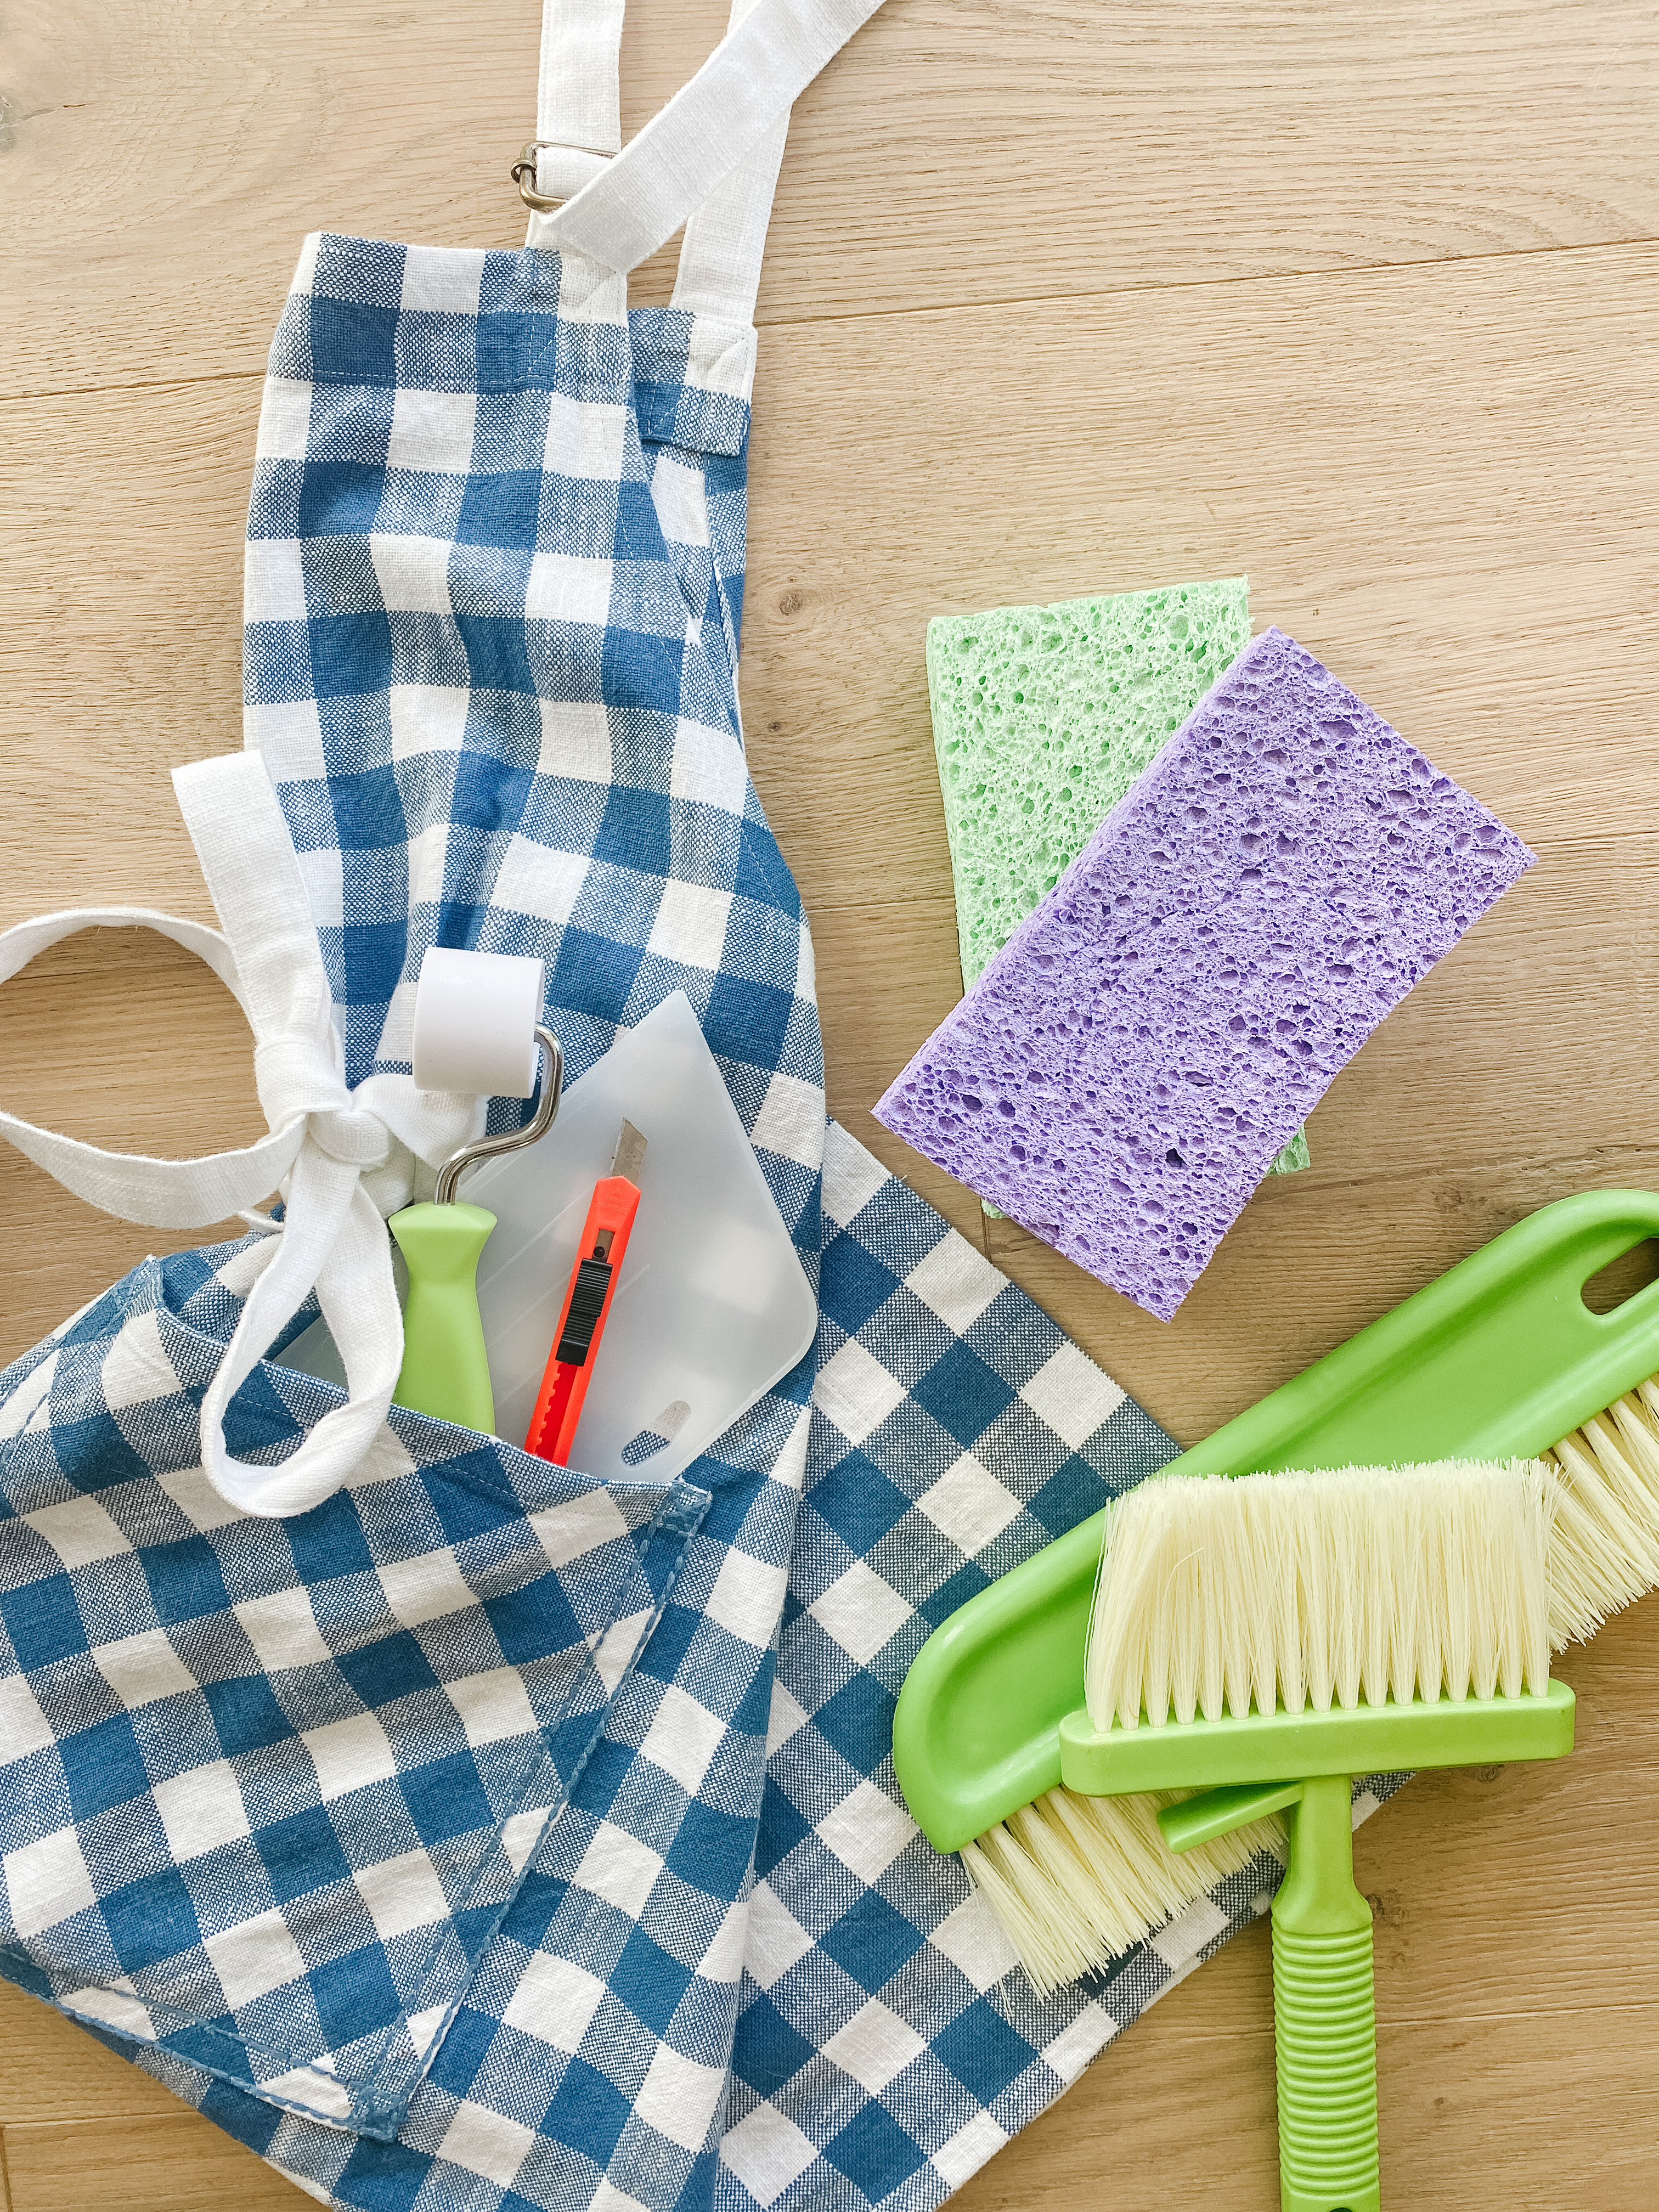
Tools You’ll Need:
- Wallpaper – see below for calculating how much you need
- Wallpaper Paste – I have tried them all and I feel strongly that the one linked below is the BEST one!
- Measuring Tape
- Wallpaper Brush
- Wallpaper Roller
- Wallpaper Smoothing Tool
- Utility Knife
- Pencil
- Level
- Sponge
- Ladder
- Brown paper – if you don’t have a long countertop or area to lay the paper out and paste it, tape this down and use a fresh sheet every 5 or 6 sheets
- A cute apron for all your tools
- Bonus: a helper!
How much wallpaper do I need to order?
When planning a wallpaper project, it’s essential to determine how much wallpaper you’ll need to buy. You want to get this right the first time, because different lots can look different, so try to order only once! Luckily, there are several online calculators that can help you estimate how much wallpaper you need. If the store from which you are purchasing the wallpaper has one, use it (Serena and Lily has their own). You can also use this one. Remember to factor in your repeat. The repeat is measured by the distance between where the pattern starts and where it repeats itself. A larger repeat means that there is more space between each occurrence of the pattern, which means more waste and more rolls needed!

Where is the best place to buy wallpaper?
There are many wallpaper brands out there, each with its own style and quality. Here are some of the top wallpaper brands:
- Check out Decorators Best and your other favorite home stores like Anthropologie Home and Serena & Lily (I have personally purchased wallpaper from all of these sites!).
- Graham & Brown: Known for their trendsetting designs and high-quality materials, Graham & Brown offers a wide range of wallpaper styles, from classic to contemporary.
- Cole & Son: This British company has been producing wallpaper since 1875, and their designs are known for their timeless elegance and luxury.
- Farrow & Ball: Known for their rich colors and handcrafted designs, Farrow & Ball’s wallpapers are made using traditional printing methods and high-quality materials.
- Schumacher: Founded in 1889, Schumacher is a leading wallpaper and fabric brand known for their high-end designs and luxurious materials.
- Thibaut: With a history dating back to 1886, Thibaut is known for their classic designs and high-quality materials.
Another thing to consider when it comes to choosing wallpaper is size. The thickness and width of the paper can make a big difference in how easy it is to handle and install. Narrower papers are often easier to manipulate and cut, while wider papers can be more challenging to align and hang straight. In general, most wallpaper comes in rolls that are 20.5 inches wide and 33 feet long. However, some brands offer wider or narrower options, so be sure to check the specifications before you buy. If you prefer a thinner, narrower paper, look for options that are around 20 inches wide or less, especially if you’re working alone or in a smaller space. However, keep in mind that thinner papers may also be more delicate and prone to tearing, so be gentle when handling and installing them.
I HAVE MY TOOLS AND WALLPAPER! WHAT NOW?
Once you have your supplies and wallpaper, follow along with these STEPS on How To Wallpaper:
- First, make sure your walls are clean, smooth, and free from dust or debris. Spackle any holes or cracks and sand the surface smooth. I know I know, this is boring… but so important so the paper doesn’t tear! Also, if you leave a hole, it may show under the wallpaper when dry.
- Next, decide where to start. I like to start over a door or behind a door and work in one direction if you are wallpapering the whole room. You will wrap all the way around, and the pattern most likely will NOT match up when you finish. It’s ok… it’s just how it works out. If you pick over a door frame or in a corner behind a door, it won’t be as noticeable. You can also choose to start in the center of the most noticeable wall and work your way out in both directions, which can help ensure that the pattern is centered and balanced.
- Now that you have decided where to start, use a level and pencil to draw a straight line on the wall, starting from the ceiling and down to the floor. This will be where you align your first wallpaper strip. If you decide you want to start wallpapering around the room to the right, the vertical line should be drawn on the wall to the left of where you want the edge of the first drop of wallpaper to be. This is the most crucial step, as it will ensure your wallpaper is hanging straight around the entire room. See this short video if you are a visual learner!
- On to the exciting part! We get to touch wallpaper! Measure the walls and cut the first piece of wallpaper, making sure to add an extra inch or two at the top and bottom. Before cutting your second piece, you need to factor in the repeat. It is easiest to hold the wallpaper up to the wall, match the design, and then mark where you need to cut the next piece. This is easiest with a helper!
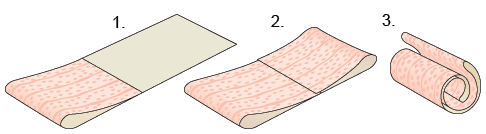
- Apply the wallpaper paste to the back of the first wallpaper strip and evenly coat the entire sheet, especially the edges. Be careful not to overpaste… you will get the hang of how much to use as you go. You can (but don’t have to) “book” the wallpaper by folding the paste sides together, allowing the paste to “relax” and activate for a few minutes. If you are working alone, booking at least the bottom half (folding the bottom up to the middle) can be helpful, so you can just work with the top half. Once the top half is up, straight, and alined, you can unbook the bottom half and finish hanging the sheet. I like this short video best!
- Carefully apply the wallpaper strip to the wall, aligning it with the straight line you drew in step 3. Do not align wallpaper edges to door trim or corners, as they are likely not level.
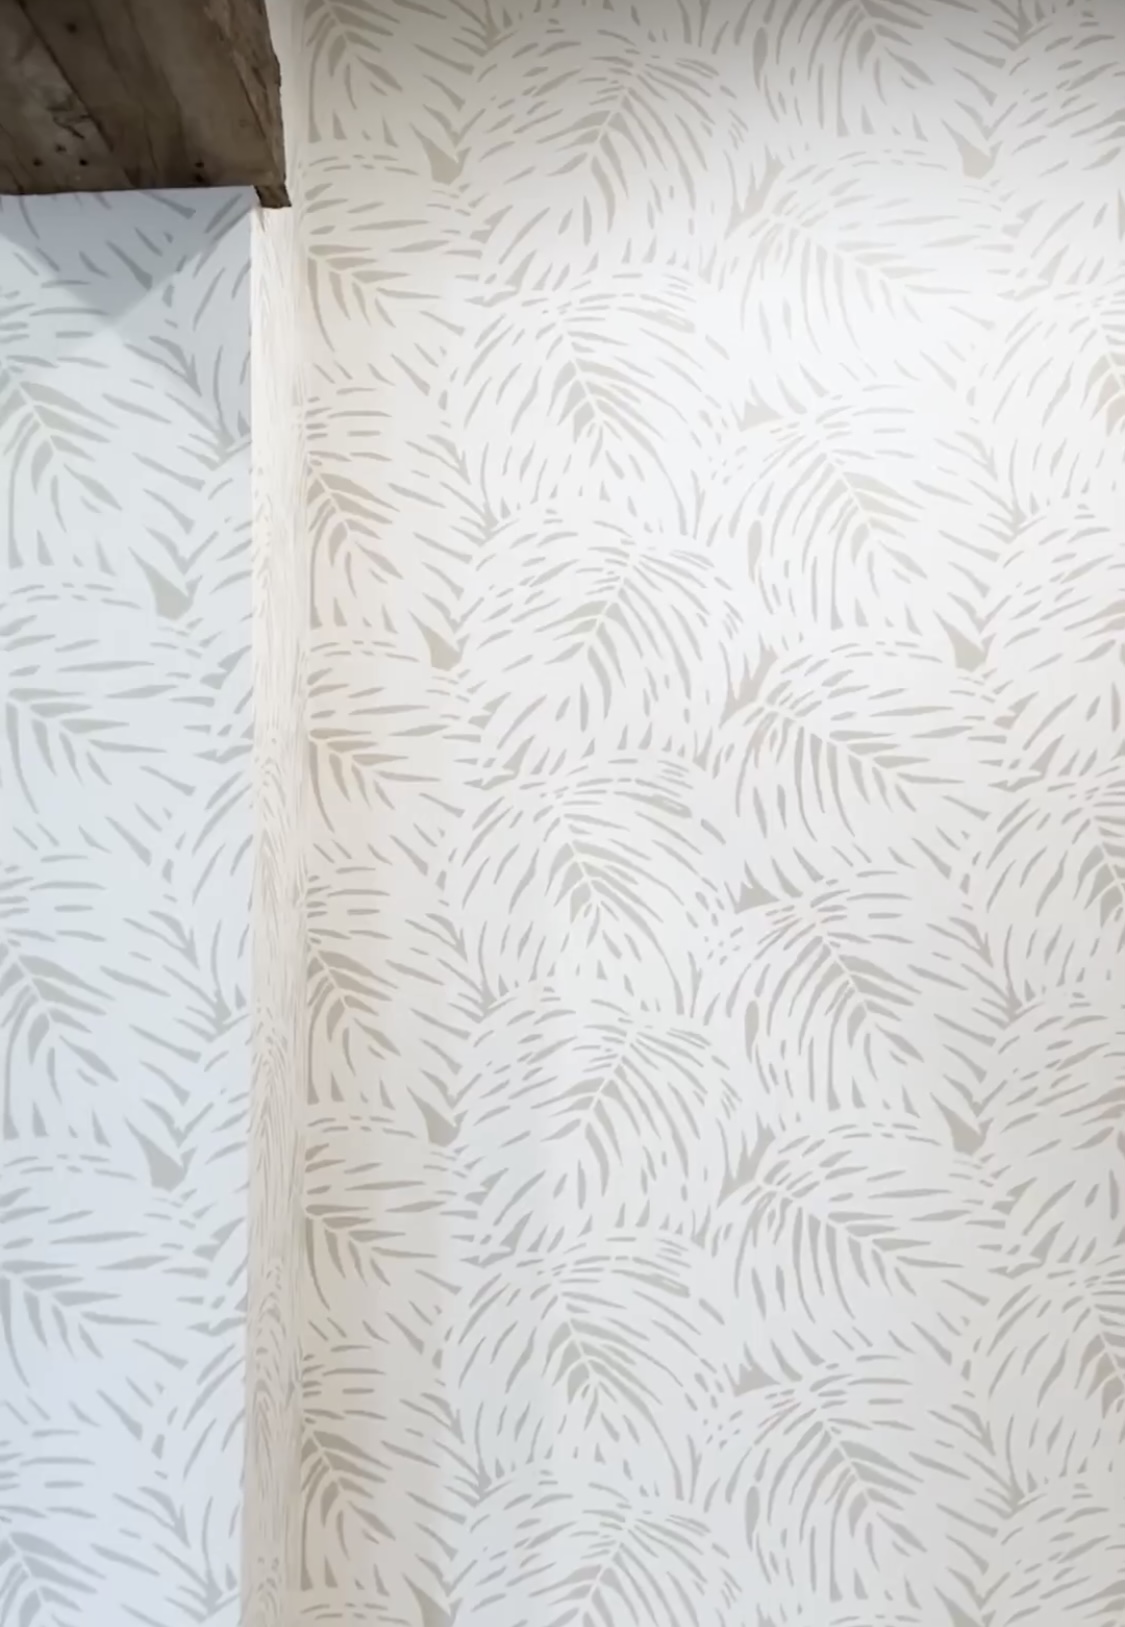
- Use a wallpaper smoothing tool to smooth out any air bubbles or wrinkles. Use the edge of the smoothing tool to push the wallpaper into the corners and edges. BE GENTLE!
- Trim the excess wallpaper at the top and bottom using a utility knife and the edge of the smoothing tool as a guide. Use a new blade every one to two pieces of wallpaper. Sharp is better! And sometimes it helps to push the blade out farther than you think necessary for corners and tight spaces.
- Repeat steps 4-8 for each wallpaper strip, making sure to match the pattern / repeat BEFORE you cut the next piece.
- Use the wallpaper roller every time a seam comes together.
- Use a sponge and generous water to clean off any excess wallpaper paste from the wall. This is much easier to do when the paste is wet. Do not wait until tomorrow.
Quick Tips:
- Take your time and work slowly to avoid mistakes.
- If you’re having trouble with air bubbles or wrinkles, gently pull back the wallpaper and reapply it.
- Use a SHARP SHARP SHARP razor blade to cut. Change the blade way more often than you think is necessary.
- If you make a mistake or a small tear, add more paste and gently pat the wallpaper down. It is less noticeable when it dries.
- Some air bubbles will disappear on their own once the paper dries (if you cant get them all out don’t worry!).
- Remember to enjoy the process. And if you make a mistake, don’t worry. Just gently pull back the wallpaper and reapply it. It is so forgiving (unlike peel & stick!).
Common mistakes to avoid:
- Not preparing the walls properly: Failing to properly prepare your walls can lead to a bumpy or uneven wallpaper finish.
- Not measuring carefully: Accurate measurements are key to a successful wallpaper installation. Make sure to measure your walls carefully and account for any obstacles like windows, doors, or light switches. And before each cut, make sure you take the repeat into account!
- Cutting the wallpaper improperly: Cutting your wallpaper drops too short or too long can lead to wasted paper or uneven seams. Use a straightedge or ruler to make sure your cuts are straight.
- Using too much adhesive: Using too much adhesive can lead to bubbles or wrinkles in the wallpaper. Follow the manufacturer’s instructions and use the recommended amount of adhesive for your wallpaper type.
- Starting in the wrong place: Starting in the wrong place can make it difficult to match up the pattern at the seams. Start in a discreet location like over a door or in a corner. Also use a plumb line to ensure that your wallpaper is hanging straight and check with your level periodically throughout the project. It is easy to become unlevel around door trims and corners.
- Rushing the installation: Take your time and don’t rush the installation. It’s better to take your time and do it right the first time than to have to re-do it later.
I HAVE A LOT LEFT OVER… SHOULD I JUST THROW IT AWAY?
No!!! Get creative and think outside the box! There are plenty of other surfaces you can cover to add pattern and personality to your home decor. Here are a few ideas:
- Furniture: Use wallpaper to add visual interest to a plain piece of furniture, like a dresser or the inside of a bookshelf. Cut your wallpaper to fit the size of the surface you want to cover, then use adhesive or decoupage glue to attach it.
- Stair risers: Adding wallpaper to the risers of your stairs is a great way to add a pop of color and pattern to your home. Cut your wallpaper to fit the size of the riser, then use adhesive to attach it.
- Backsplashes: Use wallpaper to create a colorful and eye-catching backsplash in your kitchen or bathroom. Make sure to use a waterproof and heat-resistant wallpaper if you choose this option.
- Light switch covers: Use the same wallpaper to cover your light switches and make them disappear into the wall.
- Trim Accents: Use wallpaper to create an unexpected design moment inside kitchen cabinets or built in cubbies.
YOU. ARE. READY.
With these simple tips and tools, you’re ready to wallpaper like a pro. Have fun, take breaks when needed, and don’t be afraid to ask for help.
Links
Below are links to my favorites in my Amazon storefront. Note: The specific tools you need may vary based on the type of wallpaper you are installing and the specific instructions provided by the manufacturer. Please be sure to read and follow all instructions carefully to ensure a successful installation.